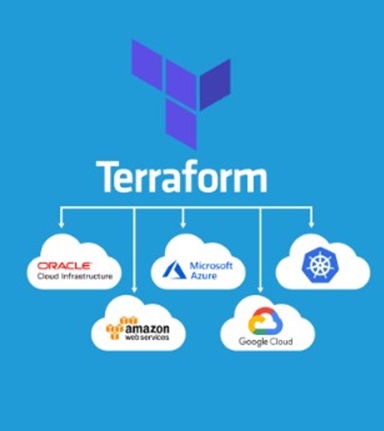
This tutorial will guide you through the step by step instructions on how to create required AWS resources and host a HTML website.
The technology selection
There are multiple technologies and tools available to host a website on cloud. When we need to host a simple HTML website, we can choose a cost-effective solution.
Using AWS
If you are familiar with AWS, they provide an easy option which is Static Website hosting using S3 Bucket and CloudFront. The highlight of this method is it is serverless, this cost-effective. You resources will be charged only when someone use it.
Step 1: Create an AWS Account
You can Create a New AWS Account by providing your Contact and Credit Card details. AWS provides ONE year free for More than 100 AWS products wich is called AWS Free Tier.
Step 2: Regiter a domain
You can register your domain with AWS by navigating to Route 53 -> Registered Domains -> Register Domains.
Step 3: Create a Hosted Zone
A public hosted zone is a container that holds information about how you want to route traffic on the internet for a specific domain, such as example.com, and its subdomains (app.example.com, admin.example.com).
Step 4: Develop your website
You can develop your website using HTML, CSS and Javascript.
Step 5: Create AWS resources
For hosting an HTML website, you can simply create AWS resources using our Terraform module AWS Static Website. Create a file terraform.tf and add the following code and update the values as per your environment.
# terraform.tf
# AWS provider for creating SSL/TLS certificate for your website
provider "aws" {
  access_key = "access key of IAM user created in your aws account"
  secret_key = "access secret of IAM user created in your aws account"
  region  = "us-east-1" # (AWS will create SSL/TLS certificate in US-East-1 region only)
  alias = "provder_for_ssl"
}

# default AWS provider for creating website and other resources
provider "aws" {
  access_key = "access key of IAM user created in your aws account"
  secret_key = "access secret of IAM user created in your aws account"
  region  = "any-aws-region"
  alias = "provder_for_website" # (alias name for default provider is optional)
}

module "static-website" {
  source  = "CloudPediaAI/static-website/aws"
  version = "1.0.1"
  domain_name = "your-domain.com"
  hosted_zone_id = "Id of Hosted Zone you created in Route 53"
  website_source_folder = "/path-to/your-website"
  providers = {
    aws.us-east-1 = aws.provder_for_ssl
    aws = aws.provder_for_website     # assign aws if there is no alias provided above
  }
}
Step 5: Execute below commands
bash:cmd/shell
terraform init
terraform plan
terraform apply
This will create required AWS resources and will host your website.
Step 6: Test your website
After successfully executing above commands, try your-domain.com in your browser.
We Value Your Input
We are committed to continuous improvement of our code and content based on valuable audience feedback. Please share your comments, suggestions, and any areas where we can enhance your experience.


